Non-Food sensory bin:
This great activity is about making a non-food sensory bin, that uses only recycled material, that you can find at your home. And hence, it can be made totally FREE OF COST, but it is as much fun as any other sensory bin!
Benefits of sensory Bin:
Sensory activities are super fun, super helpful and super important for a young child. This is the time when they start feeling different textures with their little hands and enjoy the new feeling/ or in many cases, hate feeling a different texture.
I remember when my daughter was 1 and a half year old, she hated sand. At that time, I didn’t know many children who reacted that way with sand. I always thought that kids loved sand, and they were crazy for it. So, this was a completely strange and new concept for me to understand. Now, my little girl is 2 and a half year old, and she loves all sensory activities like sand, water beads, kinetic sand rice and beans.
A list of 30 Non-food sensory bin fillers:
Most of the ideas in this list are my own, and if they match with someone else’s ideas, it is coincidental. I have taken some ideas from the internet, that I really loved, but I have credited the author and their article right underneath their ideas.
1. Sand.
2. Kinetic sand.
3. Pearls and beads from old jewelry (not suitable for children under 3 years).
4. Book/ Magazine page cuttings.
5. Gift wrapping sheet cuttings.
6. Felt sheets.
7. Old clothes (different materials: cotton, silk, wool).
8. Yarn.
9. Threads.
10. Pompoms.
11. Chalk.
12. Kitchen sponge cuttings.
13. Small balls.
14. Miniature toys (for discovery).
15. Autumn/ fall leaves (real leaves can be used to give a crunchy feel) (credits: Seasonal Sensory bin by Fantastic fun & learning)
16. Foam boards.
17. formic sheet cuttings.
18. Buttons.
19. candle wax.
20. Empty bag of chips cuttings.
21. Egg crate shavings.
22. Heart shaped beads and small photos (credits: “I spy someone I love” by Modern Preschool – I love this!!)
23. Egg shells.
24. Velcro (Reusable Velcro stickers)
25. Ribbons
26. Magnets.
27. Shoe laces.
28. Pencil shavings.
29. Crayon pieces.
30. Leather cuttings from old bags.
How to make a non-Food Sensory Bin:
The sensory bin that I am going to make is made completely out of stuff that I found at home. I have not purchased a single item for this. So it basically just calls for an hour or two from your time and nothing else.
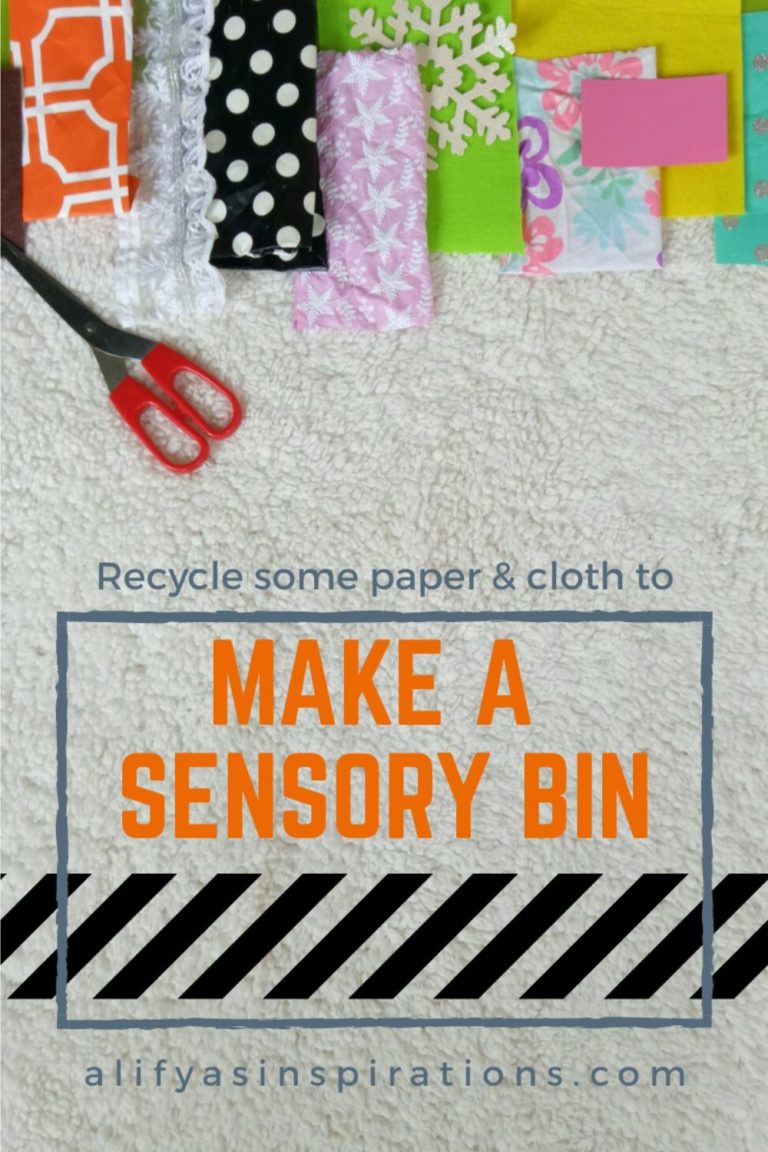
What you Need:
- Paper, cloth, felt etc (You can use any or all of the non food sensory bin fillers mentioned above).
- Scissors
- Basket or bin
- Bath toys or sand toys
- Numbers, letters or miniature toys for hiding
Step 1:
Now, the first step is really simple and really fun. You need to take a basket and scour through the house for anything that is not of use anymore. You can take your kids’ old clothes. Because they grow so quickly, we have a lot of clothes lying about that don’t fit anymore. (If they are in good condition, please donate. But more often than not, babies clothes are stained and ruined and are not really of use to anybody else. If that is the case, please feel free to recycle). You can use old gift wraps, paper bags, felt sheets, table covers or even some Christmas decoration lying about.
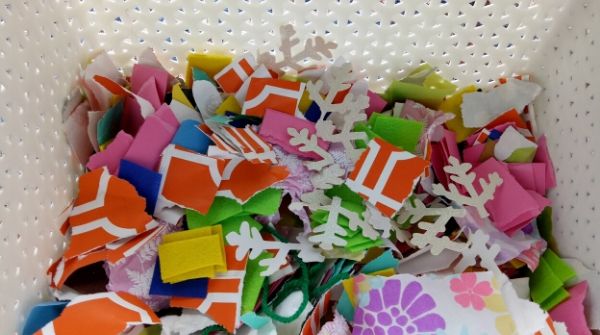
Simply use anything that can be cut into small pieces, has a different texture or feel, and is colourful. Try getting bright and colorful stuff because those are really appealing for the little ones. It would help if the stuff you were collecting is colorful from both sides, because when you fill the bin, we don’t want the main color to be white! For inspirations on what to fill in a non-food sensory bin, check out the list above.
Step 2:
Well, now that you have your material, you need to grab a pair of scissors, your bin and sit down in front of the TV. Put on your favorite show and start tearing the papers and cutting the cloth (use really sharp scissors because cutting a cloth with blunt scissors is a real pain). Think of it as a therapy and don’t let the size of the bin overwhelm you. It will fill soon enough! (I have used a 35cm by 29cm basket from Hot dollar). And another thing to note; the smaller the cuttings, the easier it would be for the kids to pour and play. So, make them as small as you possibly can.
Step 3:
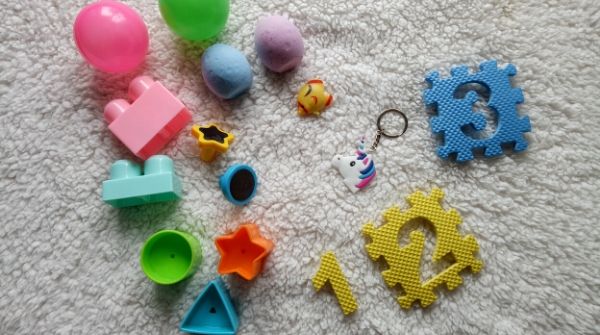
Your sensory bin is almost ready now. You just need to find some objects to hide underneath the pile of paper and cloth. This step is totally optional. The bin is fun even without it. But this just adds that something SPECIAL. You can hide objects according to your Childs’ age and learning level. For instance, you can add a few alphabets or numbers, a ball, a few blocks, stickers, pompom balls. Just think ‘small ‘ and be creative.
Here is what I put in my sensory bin for exploring, discovering and learning:
Step 4:
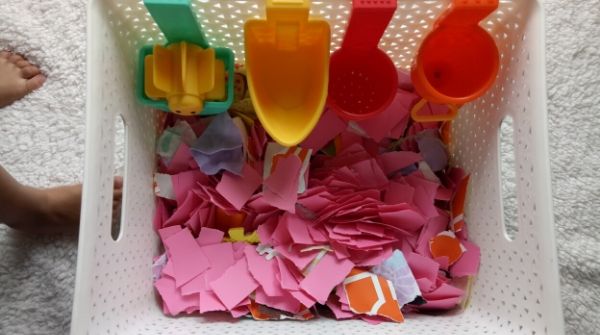
Kids love scooping, pouring and sorting things. So at this point I would suggest adding some bath toys or sand toys that they can play with. If you don’t have any bath or sand toys, you can always use a few cups, spoons and plastic bowls from the kitchen.
ENJOYYY!!

Don’t forget to place this bin on a mat or a sheet when it is sensory play time. It just defines a place for them to be messy in, and it is a ton easier to clean up afterwards.
If you liked this non-food sensory bin idea, you will also love this sensory water play idea. Also don’t forget to go through the whole list of amazing and creative ideas right here.
Thanks for reading. If you liked this post please like share and SIGN UP for our Newsletter. Also, if you tried your own version of this I would love to see a picture and hear about how it went!
Pingback: 30+ Creative Painting Ideas for Kids » Alifya's Inspirations